Koha and Google’s OAuth 2.0 API to authenticate. How to setup Google Authentication in Koha 19.11?
To setup the Google Authentication with Koha LMS, first you have to go to Google Developer’s Console to obtain OAuth 2.0 credentials for your application (in our case is Koha LMS)
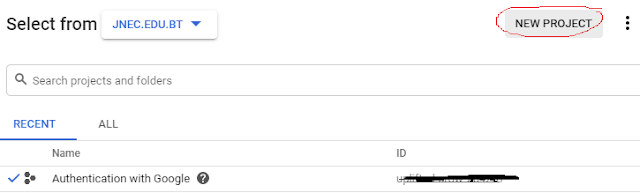


Create a new project and name it (Give a logical name - Cannot be edited)


Next search for Identity and Access Management (IAM) API and enable it.

Next, set the consent screen values:
Application type: Internal
Application Name : Koha - LMS (This name is what users will see)
Application Logo : Upload your logo (Max. size 1MB)
Support email : youremail address (shown to users)
Authorized domains : jnec.edu.bt (press Enter to add it)
Save it.
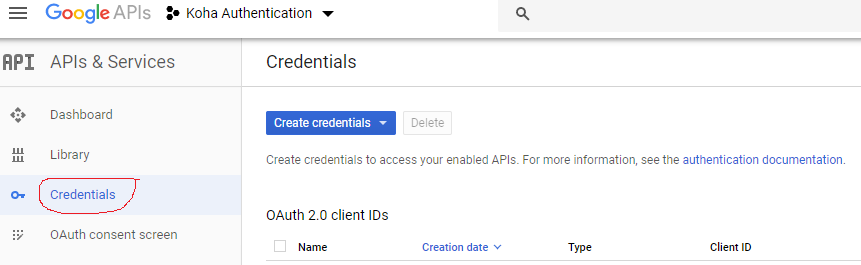
Next create the credentials. Click on Create credentials and select OAuth client ID from the dropdown.

Set the following parameters :
Application type : Web application
Name : Koha (Any name)
Authorized JavaScript origins : https://yourkohasite (press Enter to add it)
Authorized redirect URIs : https://yourkohasite/cgi-bin/koha/svc/auth/googleopenidconnect (press Enter to add it)
Click on Create to create the credentials. Now your client ID and client secret will be generated.

Next, open your Koha site ang go to Global System Preference -> OPAC and under
Google OpenID Connect feature, set the followings:
GoogleOAuth2ClientID :Google OAuth2 Client ID
GoogleOAuth2ClientSecret : Google OAuth2 Client Secret
GoogleOpenIDConnect : Yes
GoogleOpenIDConnectDomain : your domain (to restrict users from other domains to login)
Save it and check the authentication.


Comments
Post a Comment