ZOOM FOR MOODLE - HOW TO ADD AND SETUP ZOOM PLUGIN IN THE MOODLE
MANUAL
TO ADD AND SETUP ZOOM PLUGIN IN THE MOODLE (VLE)
*Note: To use zoom in VLE, the zoom meeting initiator (faculty in our
case) must use official rub/college email address.
2.
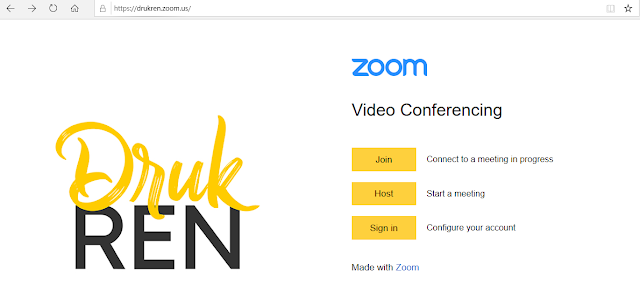
Click on Sign in with Google
Click on Sign in with Google
3. Click
on Use another account
4 . Enter
your email and password:
5. Click
on Create Account
6. If you
get the following notice, click on View Detail and Choose
7. Click
on Join the Account and click on Continue
9. Now
login to your Moodle site: https://vle.jnec.edu.bt/ (for
JNEC). Go to your course and click on Turn on Editing.
10. To add
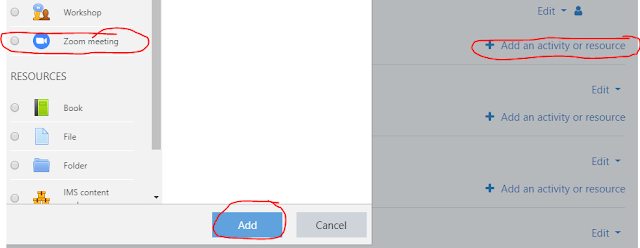
the zoom plugin, click on Add an activity or resources, check the Zoom
Meeting plugin and click on Add button.
11. If you get the following error. Repeat Step
1-9 again. The issue is with the account verification. If you not verified
your account in zoom, you will get the following error.
12. If Step -10 is successful, you can add and
configure the Zoom Meeting and save it.
13. Now
the zoom is ready. Click on Start Meeting to start the video conferencing.
14. If you are using zoom for the first time, you
will need to click on download and run Zoom then launch the Zoom.
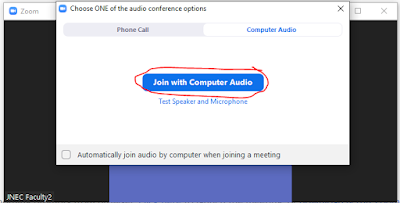
15. Click
on Join with Computer Audio
16. Now
the Zoom is ready to use
17. To end
the Meeting, click on End meeting and End Meeting for All


Comments
Post a Comment